
文章段落
近來有許多客戶詢問:是否可以在 GCP 的 Load Balancing 上做 Redirect,將 HTTP 轉至 HTTPS,而非透過 Web Server (Nginx or Apache) 做跳轉?
答案是可以的。
根據 Google Cloud 官方部落格 2020/7/25 時發表External HTTP(S) load balancer 新的 traffic control 功能,我們可以透過 Load Balancing 上的 Advanced host and path rule 功能來實現 port 80 跳轉 port 443。
這篇文章主要是針對目前已有 Web Server ,
並且已搭配使用 HTTP(S) Load Balancing 的使用者,
希望透過 GCP Load Balancing 將80轉至443 的 Redirect。
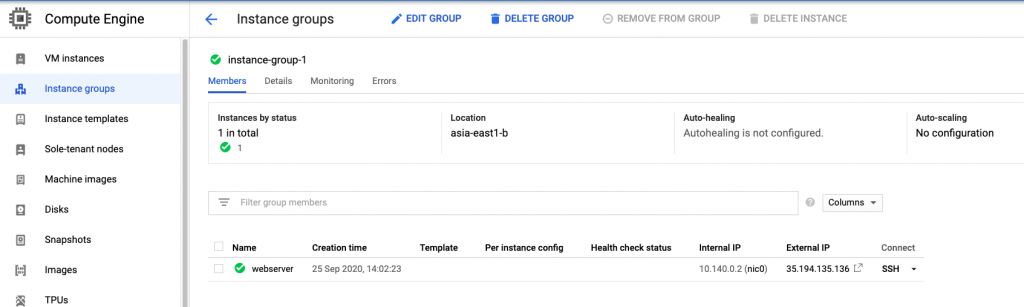
一、預設場景
我們預設的場景如下:
- HTTP(S) Load Balancing:
- Frontend: 443 port with SSL certificate
- Backend: 80 port
- Web Server: 80 port
建議:若是已將 SSL 憑證掛在 Load Balancer,建議是將 HTTPS 統一由 Load Balancer 做處理,後端 Web 主機僅需 Listen HTTP 即可,以避免憑證過期時需替換兩處( LB 及 Web 主機)的 SSL 憑證。


我們接下來會需要另外建立一個 Load Balancer for HTTP , 並透過 Host and path rules 裡的 Redirect 將 HTTP 跳轉到目前已存在的 HTTPS Load Balancer。
在開始之前,我們需要確認目前的 HTTPS Load Balancer 的 Public IP 是否有綁定為 Static IP,若是沒有需要先將其設定為 Static。


二、操作步驟
作法如下:
- 首先進到 GCP Load Balancer 頁面,點擊”CREATE LOAD BALANCER”。

2. 選擇 HTTP(S) Load Balancing,

3. 選擇 From Internet to my VMs

4. 給 Load Balancer 一個容易辨認的 Name,例如:http-to-https

5. Backend Configuration:這邊請跳過,因為這種專門做跳轉的 Load Balancer不需要Backend。
6. Host and Path rules:
- Mode: Advanced host and path rule (URL redirect, URL rewrite)
- Action: Redirect the client to different host/path
- Path redirect: Prefix redirect
- Redirect response code: 301 – Moved Permanently
- HTTPS redirect: (V) Enable

都設定好之後,記得按下[Done] 按鈕。
會看到以下畫面:

7. Frontend configuration:
Name: frontend80 (自定義)
Protocol: HTTP
IP address:選擇 HTTPS 的 Public IP (Static IP),這裡的範例為 lbip (34.120.4.167)
Port:80

完成後,記得按下 [Done]。

8. 全部都設定好之後,便可以按下 [Create]。

完成後,需等待3-5分鐘待此新 HTTP Load Balancer 生效。
(五分鐘過去…)
三、測試
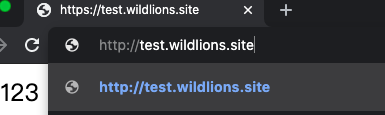
我們可以開始進行測試,目前針對此篇文章的測試網域為 test.wildions.site。
- 於 Browser 執行 http://test.wildlions.site
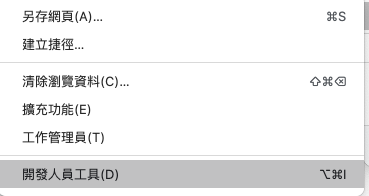
2. 可以打開 [開發者工具] ,可以看到 Remote Address 為 LB IP,使用的是 HTTP Protocol,Response code 則為 301 Move Permanently。


3. 接著下一個便可以看到是由 HTTPS 使用的是 443,Response code:200。

完成,成功。

如這篇文章主要是利用 GCP HTTPS LB 上的 Advanced host and path rule (URL redirect, URL rewrite),進而實現將 HTTP Redirect to HTTPS 的作法。
如此一來便可以在 GCP LB 上完成80跳轉443的動作,而無需使用 Web Server 進行跳轉。


I read this paragraph completely concernjing the comparison of latest
and earlier technologies, it’s amazing article.
您好,可參考這份文件試試看,謝謝!
https://cloud.google.com/load-balancing/docs/https/setting-up-http-https-redirect
請問。因為我已經有設 https 的 lbs 想把 http 導到 https 。但在建立新的lbs時我選不到目前正使用中的ip。只剩選臨時跟建新的。