文章段落
早期在 Cloud CDN 的使用上,我們必須在 Origin (原站)設定好符合 Cacheable content 的 header 後,Cloud CDN 才會發揮作用將符合條件的 Objects 進行 cache。但現在我們可以透過 Cache mode 來實現自動緩存靜態內容,一起跟著下面的教學步驟實作看看吧!還不了解 CDN 是什麼的話,可以先參考《CDN 是什麼?Google Cloud CDN 用途、架構完整介紹》一文。
Cloud CDN 的 Cache mode 是什麼?
Cache mode 是 Cloud CDN 上新功能,允許 Cloud CDN 自動將常見的靜態內容類型進行 Cache ,而無需進一步在 Origin 上面進行設定,可以做到強制將 all responses 進行 cache,也可以依照 Origin 的 cache directive 進行。
在建立 GCP HTTP/HTTPS Load Balancing 時 (Backend Services 或是 Backend Bucket 都可以),若是將 Cloud CDN 的選項打勾,可以看到 Cache mode 目前支援三種模式:
| Cache Mode | Behavior |
USE_ORIGIN_HEADERS | Requires origin responses to set valid cache directives and valid caching headers. |
CACHE_ALL_STATIC | Automatically caches static content that doesn’t have the no-store, private, or no-cache directive. Origin responses that set valid caching directives are also cached. |
FORCE_CACHE_ALL | Unconditionally caches responses, overring any cache directives set by the origin. Make sure not to cache private, per-user content (such as dynamic HTML or API responses) if using a shared backend with this mode configured. |
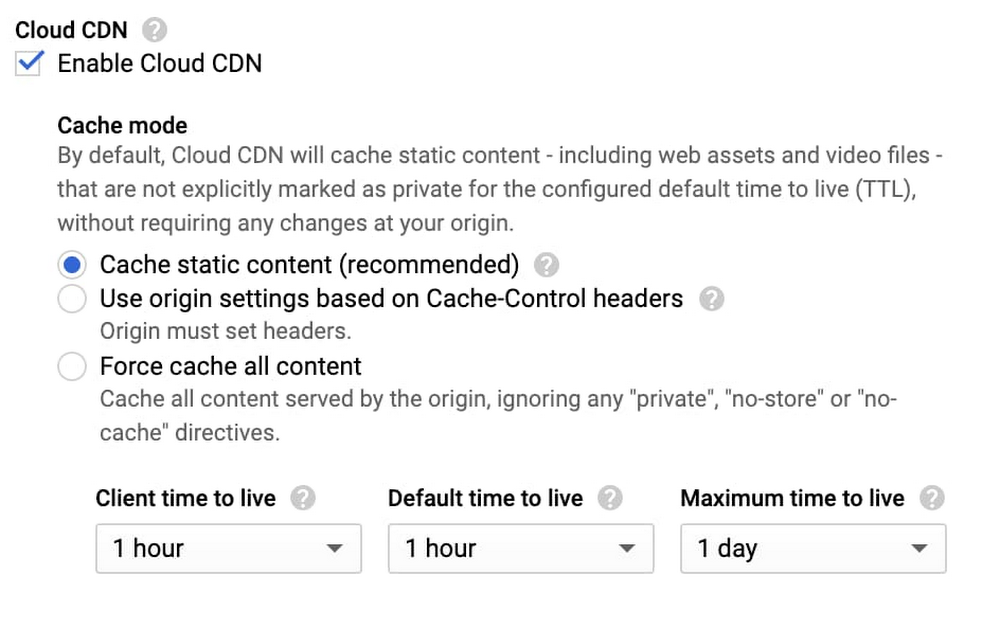
我們可以選擇 Cache static content ,在 Cache static content 模式下,通過此設置,Cloud CDN 可以 cache 常見的靜態內容類型。常見的靜態內容類型包含以下:
- Web Assets, including CSS (text/css), JavaScript (application/javascript) and all web fonts, including WOFF2 (font/woff2)
- Images, including JPEG (image/jpg) and PNG (image/png)
- Videos, including H.264, H.265, and MP4 (video/mp4) +. Audio files, including MP3 (image/mpeg) and MP4 (audio/mp4)
- Formatted documents, including PDF (application/pdf)
| Category | MIME types |
| Web assets | text/css text/ecmascript text/javascript application/javascript |
| Fonts | Any Content-Type matching font/* |
| Images | Any Content-Type matching image/* |
| Videos | Any Content-Type matching video/* |
| Audio | Any Content-Type matching audio/* |
| Formatted document types | application/pdf and application/postscript |
教學步驟一:設置靜態內容
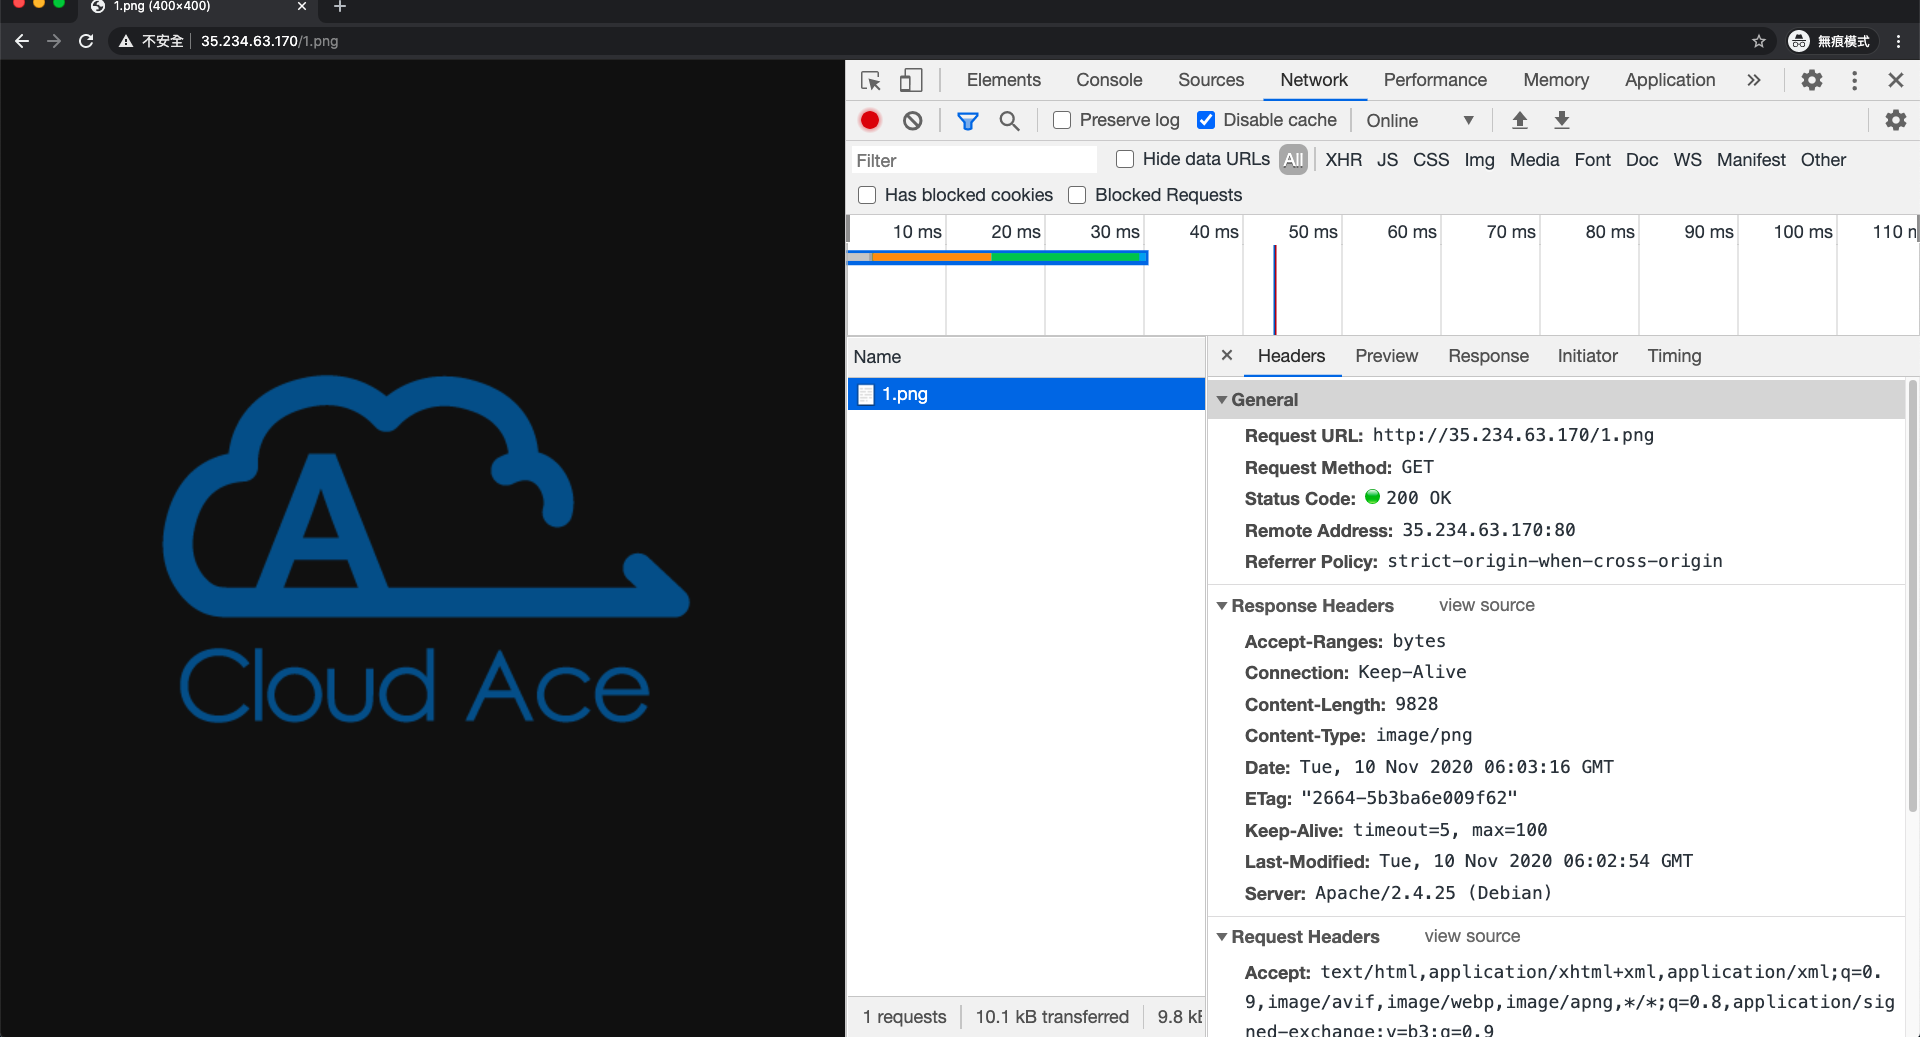
我們先在 GCE 上根目錄的地方放置一張 1.png 的圖片
教學步驟二:啟用 Cloud CDN
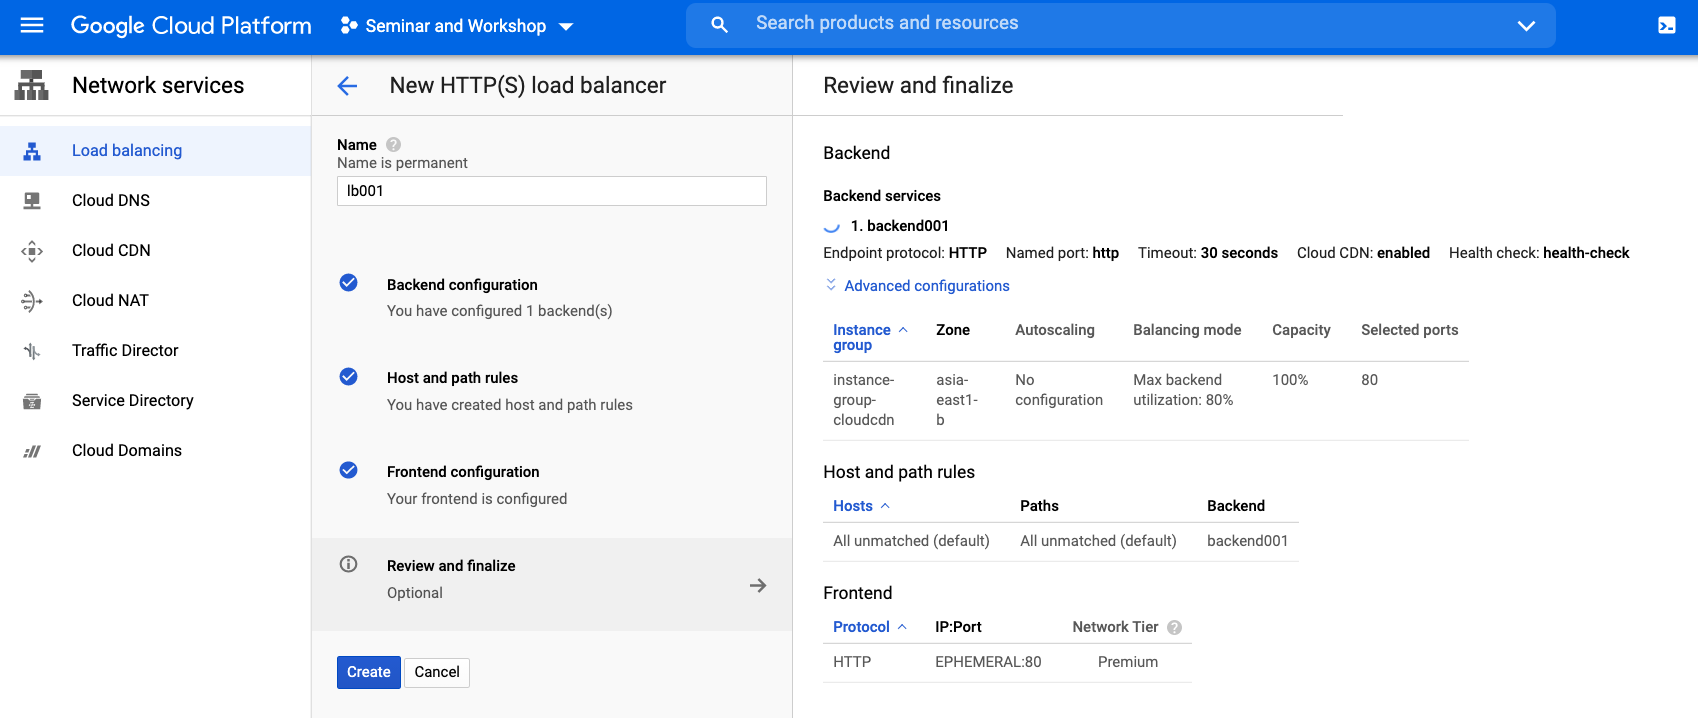
接著建立 HTTP/HTTPS Load Balancing,在 Backend services 的地方將 Cloud CDN 啟用,並選擇 Cache static content。

教學步驟三:確認 Load Balancer 的設定
再來記得 Review 一下 Load Balancer 的設定。
教學步驟四:等待 Load Balancer 建置完成
做好相關設定後,我們必須等待3-5分鐘 Load Balancer 才會建立完畢。

教學步驟五:等待 Load Balancer 建置完成
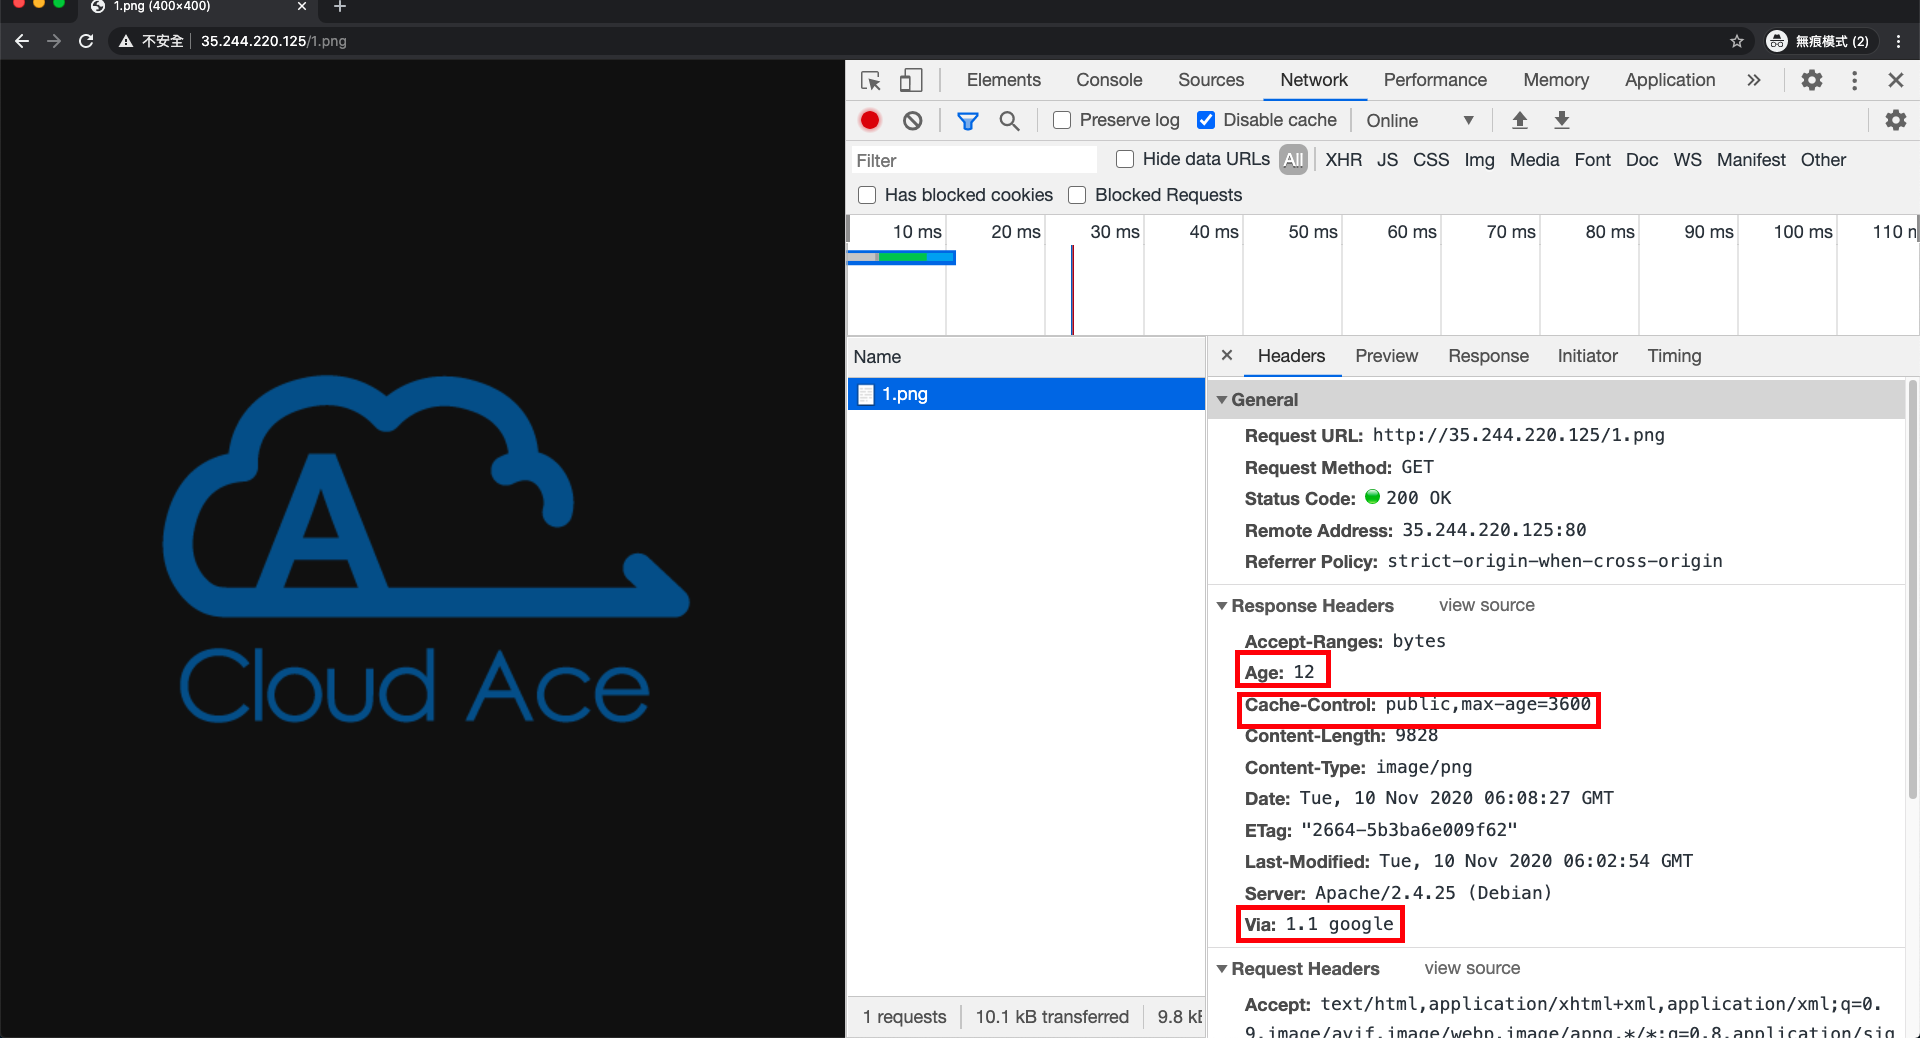
Load Balancer 建置完成後,我們緊接著可訪問 Load Balancer IP,透過此 IP 上的 1.png 查看最一開始放置的物件。如下圖所示,可以看到 Age, Cache control: public, max-age, via:1.1 google,代表此物件已被 Cloud CDN cache。
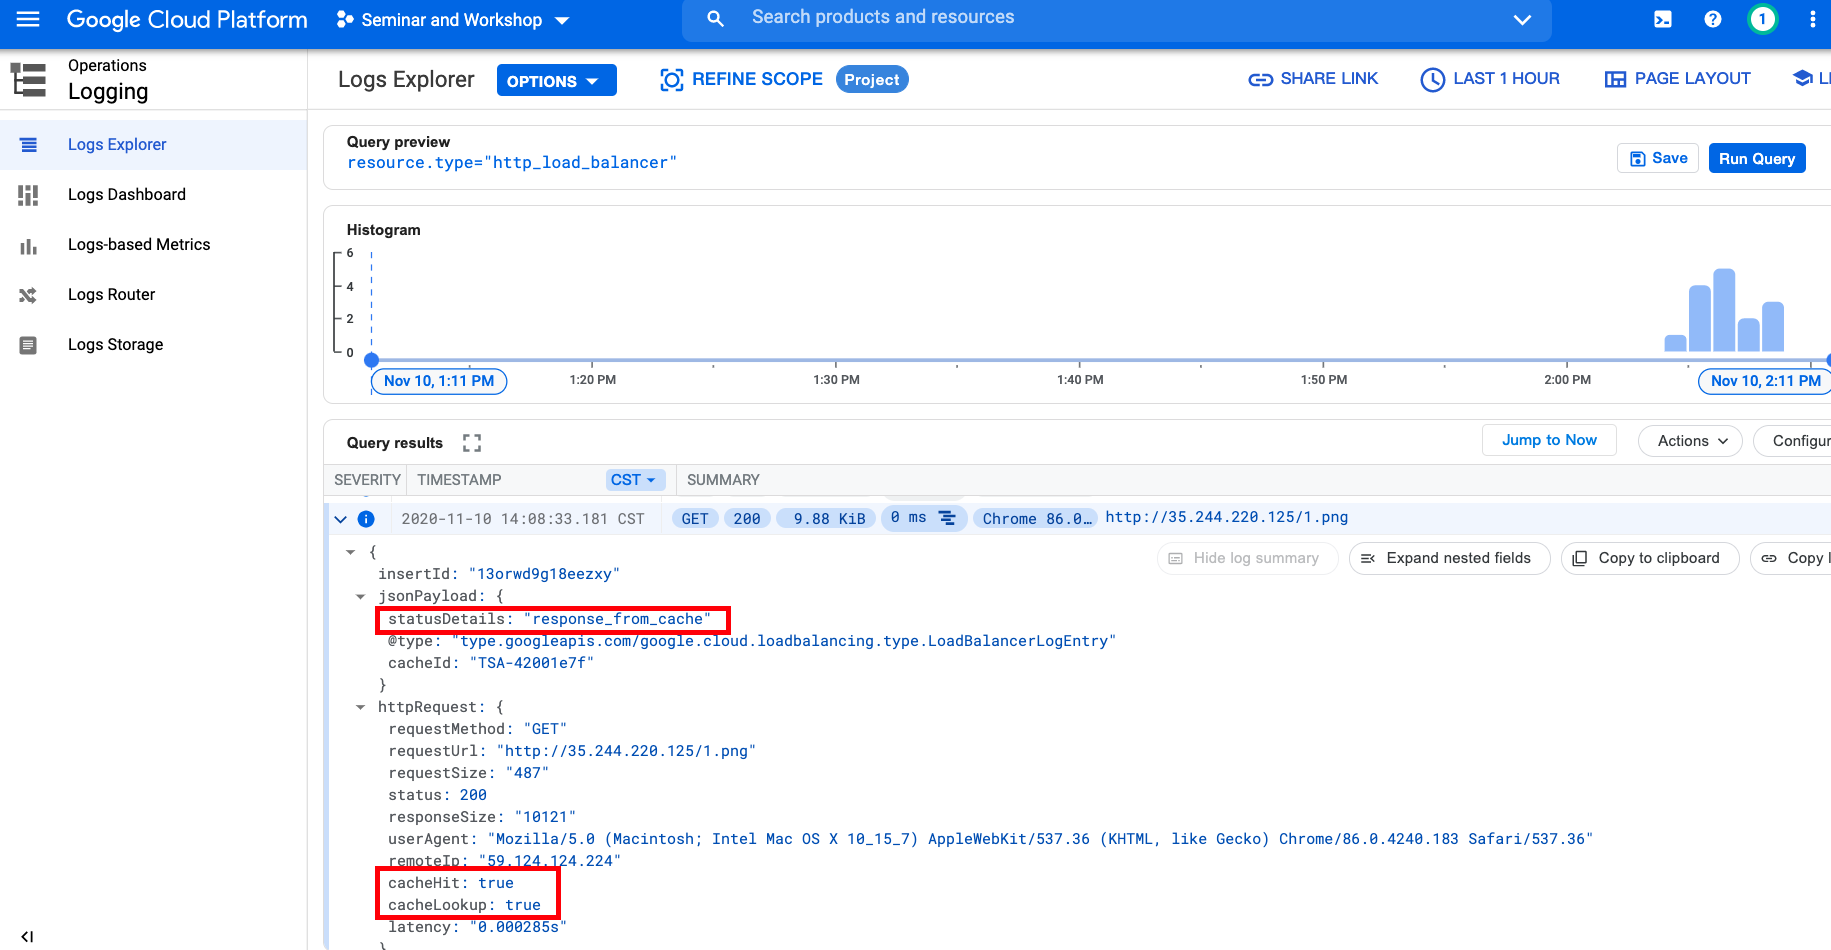
教學步驟六:確認 Cache 是否成功
最後我們透過 Cloud Logging 查看 log,可以看到 response_from_cache 及 cacheHit: true 和 cacheLookup: true,這代表 Cache 成功了!
需要注意的是,在本文撰寫的同時 (2020/11/10),Cache mode 仍屬於 Beta ,目前針對新建立的 Backend,不論你在建立 backend 時的 cache mode 設定是什麼,預設都會以 USE_ORIGIN_HEADERS cache mode 覆蓋 (下表藍字部分),需要等 Backend services 建立完成後,再次進去手動修改成 CACHE_ALL_STATIC。
During the beta release of cache modes, when you enable Cloud CDN on a backend (origin), you can optionally set the cache mode to CACHE_ALL_STATIC, but the default behavior is that Google Cloud continues to require origin responses to set valid cache directives and valid caching headers. This is now called the USE_ORIGIN_HEADERS cache mode. Responses without these directives and uncacheable responses are filled from the origin.
這個改動未來 GA 時,則會以 CACHE_ALL_STATIC (new default) 為主 (下表綠色部分),
| 發佈階段 | 現有或新版 | 默認緩存模式 |
| Beta | New backend | USE_ORIGIN_HEADERS (no change) 現在 |
| Beta | Existing backend | USE_ORIGIN_HEADERS (no change) |
| GA | New backend | CACHE_ALL_STATIC (new default) 未來 |
| GA | Existing backend | USE_ORIGIN_HEADERS (unchanged) |
以上便是 Cloud CDN Cache mode 的示範,為了提高性能,當啟用 Cloud CDN 時,我們可以透過 Cloud CDN 自動緩存靜態內容。
如需自動緩存,您可以使用 Cache mode: CACHE_ALL_STATIC 設定。通過此設定,Cloud CDN 可以將常見的靜態內容類型 cache下來,無需再透過 Origin header 進行繁瑣的設定了。